About Me

My photo
Hi, Welcome to my Blog.I'm an eclectic kind of crafter delving into many pots. I am just about managing to keep up my Scrapbooking Diary, plus any cards as required. As my Carpal Tunnel allows I am getting into yarn/fabric crafts with slow stitching and needle felting added to my list. I continue with my love of Watercolour and Bible Journaling plus Faith/Art Journaling with acrylics and inks. I completed my challenge to make an art journal page a day for my 60th year in 2024. My list of crafty exploits includes ATCs, Tags, Altered Books, Mixed Media, Décopatch, Knitting, Crochet, and Embroidery. I live in Surrey, UK with my husband, our son has left home now. For exercise I usually play Badminton and go Ballroom and Latin Dancing. I also like Walking/Geocaching. I have been learning to play the harp for the past 10yrs. I am now officially retired. I am a born again Christian, currently worshiping at my local Evangelical Church.

Monday, 9 June 2014

June Craft Club - Embossing

For this month's technique we looked at dry embossing. Embossing is where the image is raised from the surface of the card. Dry Embossing is where the card is "stretched" into the raised form.

Initially we looked at how we emboss by hand using embossing tools and stencils. Here you push the card gently through the stencil with ball tools, starting with the biggest and being careful not to go through the card.

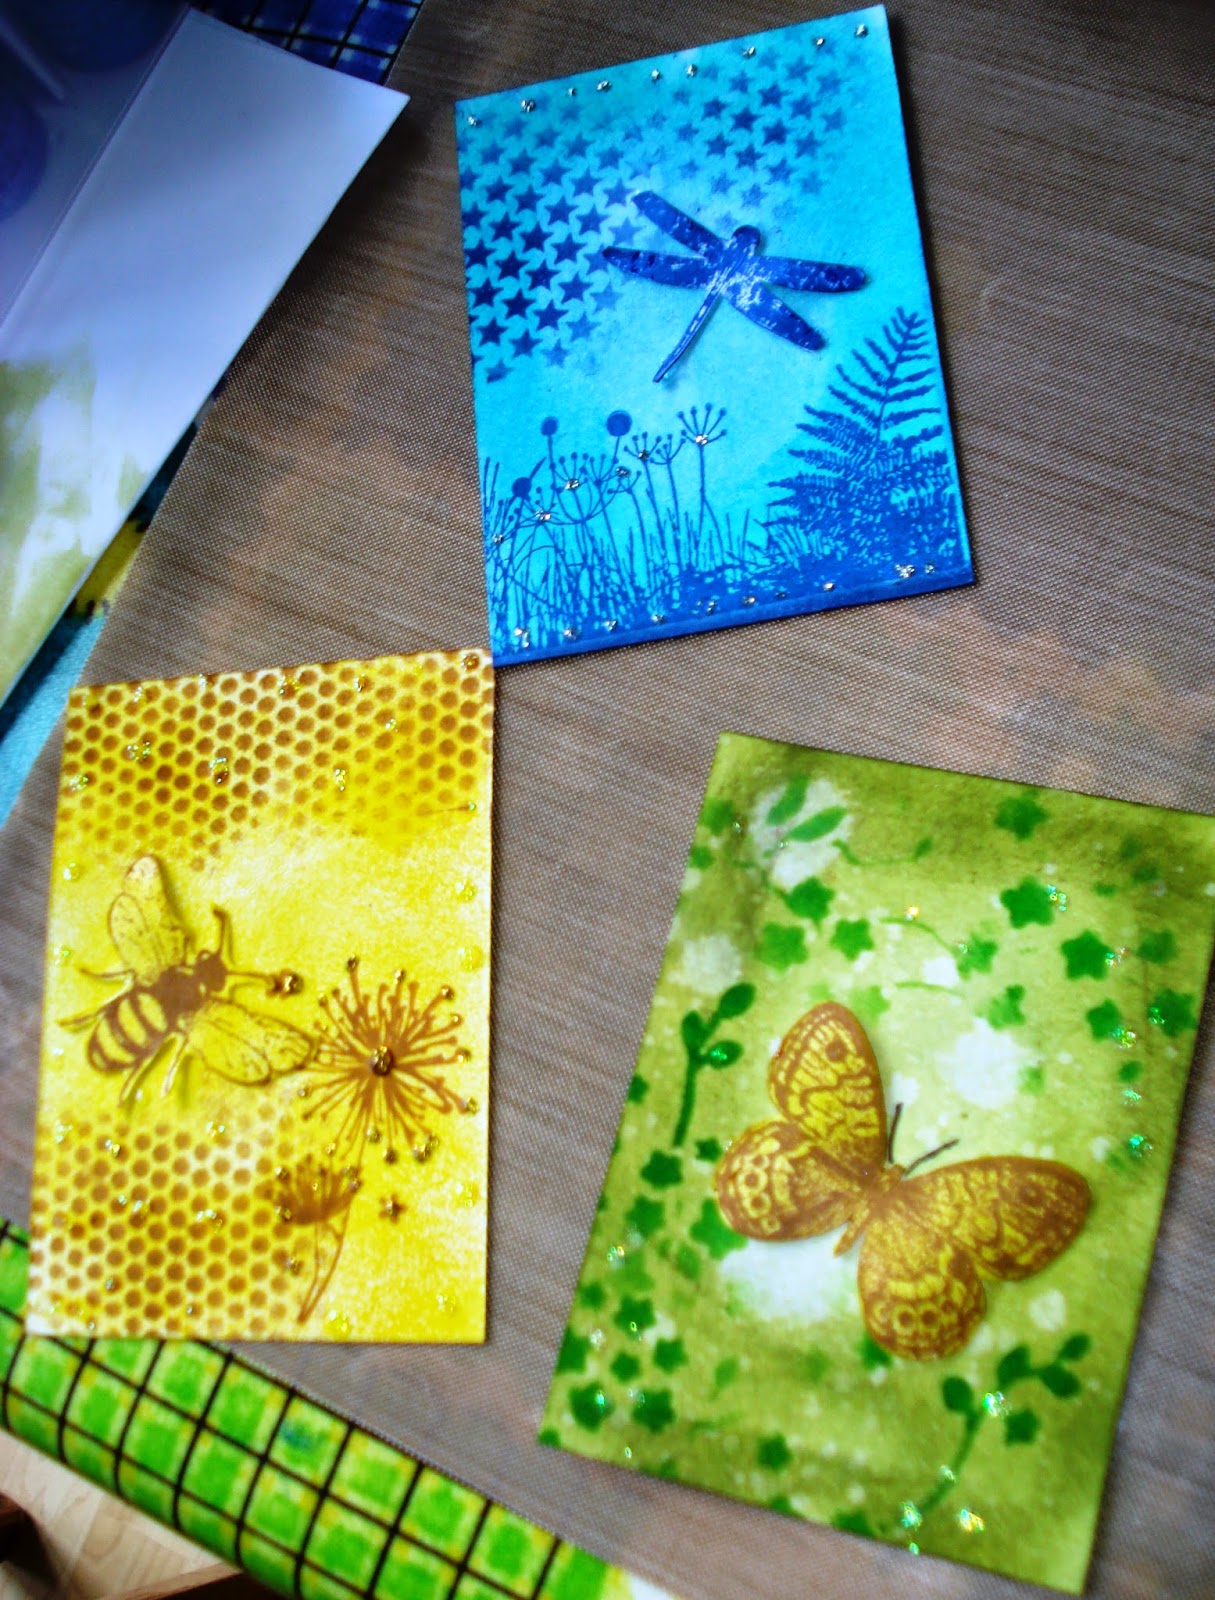
You can use brass/metal stencils or plastic ones. We even had a go using the embossing folders (which are essentially for use in a die cutting/embossing machine) and they worked a treat.


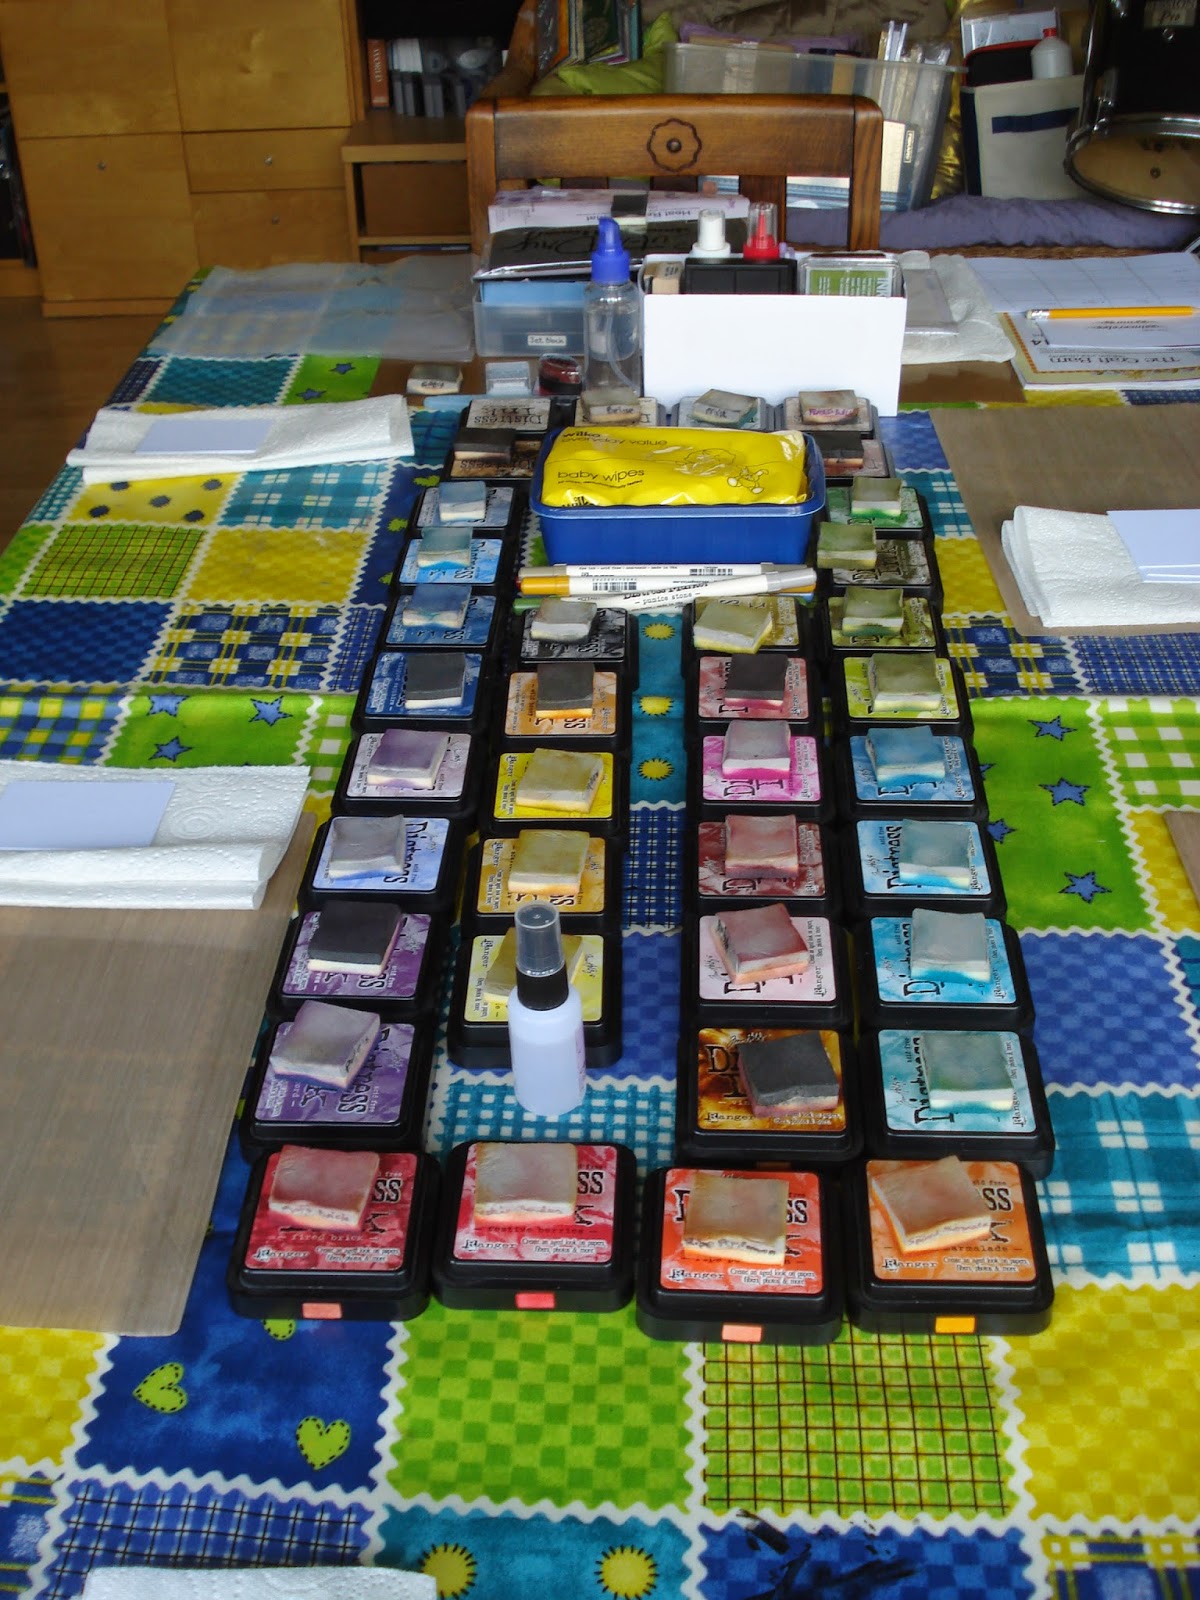
We looked at folders which come with specific dies and most recently you can get folders which cut and emboss at the same time. e.g the butterflies. We also looked at how you can colour your images using chalks and/or inks.


Finally we saw how to emboss a frame using special cut-out plates in your machine. The plates I used are Tim Holtz Diffusers but you can also get some called Easy Frames by Darice.

Here's a great blog post showing the double embossing technique using the Tim Holtz Diffuser Plates.


Here are a couple of projects made today, a hand embossed bookmark and a frame embossed card. I look forward to seeing other finished projects.

May's Finished Cards

Here are a few of the cards made up using the inked ATCs we made in May.


I just think it is amazing that we can use essentially the same items and even colour schemes and still produce our own distinctive cards.

Monday, 12 May 2014

May Craft Club - Inks Explored!

We all had a play with inks, stamps, stencils, stickles and liquid pearls today. Here's a quick reminder of some of the stages as we built up the layers on our ATCs. (if you click on any photograph it will be bigger)


First we inked with 3 different shades or colours of Distress inks. We then did "pat-a-cake" with water on our hands to drop water over the ink which we lifted with kitchen roll. We then added layers with stencils and stamps and added a little glitter glue or perfect pearls to finish off.

Here's some in orange and the brown butterfly ATC I did as the demonstration. I used another one as a card topper just by adding it to some patterned paper with ribbon.


I completely forgot to take photos of everyone's creations today but fortunately remembered to catch one set.


Oh and here's a reminder of the fun we had in both a before and during photo of the table!


Saturday, 3 May 2014

May Craft Club - INKS

I thought we'd look at inks this month as we'd been introduced to Distress Inks last month.

We'll look at the differences between water based and permanent inks and use both to make some ATCs.

ATCs are little pieces of art (2 1/2" x 3 1/2") that can be swapped with other people, however they are just as suitable as card toppers.

Here are a few samples I have made to give you an idea.


Monday, 14 April 2014

April's Cards

We all seem to have had fun at Craft Club this morning.
Six people came today which made my dining room rather cosy indeed!

We all made a Quirky Bird card, inking edges and stamping the speckles.

Everyone then used Mulberry paper as a backing, and remarked that it gave the feel of a bird's nest.


Finally everyone chose their own colours to make the big egg card. It was great to see all the combinations of colours and patterns used.


Thursday, 3 April 2014

April Craft Club

This month's club will be held on Monday 14th April - usual time 10am-noon.


With Easter soon upon us we'll be making some Easter cards although they can be adapted for other occasions if you so wish.


I bought some new X-Cut nesting die sets, one of Egg shapes and one of Paisley shapes and we will be using these for our cards.


I have cut out all the parts needed for the "Quirky Bird" card to get you all started and we will be inking the edges to get more definition on the shapes, plus adding a speckled background.

The Egg card is a bit more traditional and I have left it up to you all to choose your own colour combinations for this one. Inking the edges again though. (cross optional)

A quick reminder for those not so sure of the Cuttlebug plates to use.
The dies are all thin dies so you'll need from the bottom up:-
"A" Base plate
"C" Adapter plate,
Die face up,
Card/paper face down
"B" Cutting plate on top and away you go.

Hope to see you all on 14th.

Oh and do pop over to the Ashtead blog for more Easter inspiration

Tuesday, 11 March 2014

March Craft Club


Unfortunately we had to postpone the February Craft Club as my son was ill but we resumed on the 2nd Monday in March for card making, banter and laughter.

We made our backgrounds from 5 strips of coloured paper.

There was a little bit of trouble in getting the strips cut straight on the paper trimmer but I made up the hummingbird card from some wonky strips with the spaces covered with 2 additional narrow strips.


We used white silhouette diecuts on top, and some coloured butterflies too.

We also used up the left over pieces from the strips to make mosaic toppers.


Here are some of the cards made on the day.
(if you click on the photos they should become bigger)


It is great to see that, despite all having the same diecuts to work with, all the cards still have their own personal style.


Next Craft Club is on Monday 14th April 2014.


Saturday, 1 February 2014

February Craft Club


The February Craft Club will be on Monday 24th February 2014 10am-Noon Chez Moi.

We will be doing Diecuts and Diecut Negatives like the Ashtead Card Making and Craft Club last month.

Here are a few examples of the cards they did. 

At the January Club we decided that we'd bring our own tools and adhesives to work with each month. I'll supply blank cards and papers/card. I also have a Cuttlebug and various dies for this month's technique.